Essential Tips for Maintaining Your Sink and Bathtub Fixtures to Prevent Leaks and Damage
This is a subtitle for your new post
A leaking sink tap is a common plumbing issue that can be both annoying and wasteful. Even a slow drip can waste litres of water over time and increase your water bill. Fortunately, fixing a leaky tap is often a simple task that you can handle yourself with a few basic tools. In this post, we’ll walk you through the steps to repair a leaky tap and explain when it’s time to call a professional plumber.
Why Fixing a Leaky Tap Is Important
A leaky tap might seem like a minor inconvenience, but it can lead to larger issues over time, including:
- Water Waste: A dripping tap can waste up to 20,000 litres of water per year, which increases your water bill.
- Damage to Fixtures: Continuous leaks can cause rust, corrosion, and wear on your sink fixtures.
- Water Damage: Leaks can lead to water stains and damage to the surrounding countertop or cabinetry.
Common Causes of a Leaky Tap
Before you start your repair, it helps to understand what might be causing the leak:
- Worn-Out Washer or O-Ring: These small parts inside the tap can wear out over time, leading to leaks.
- Loose Parts: The faucet handle or other internal components may become loose, causing water to drip.
- Corrosion: Over time, parts of the tap may corrode or break down, allowing water to leak.
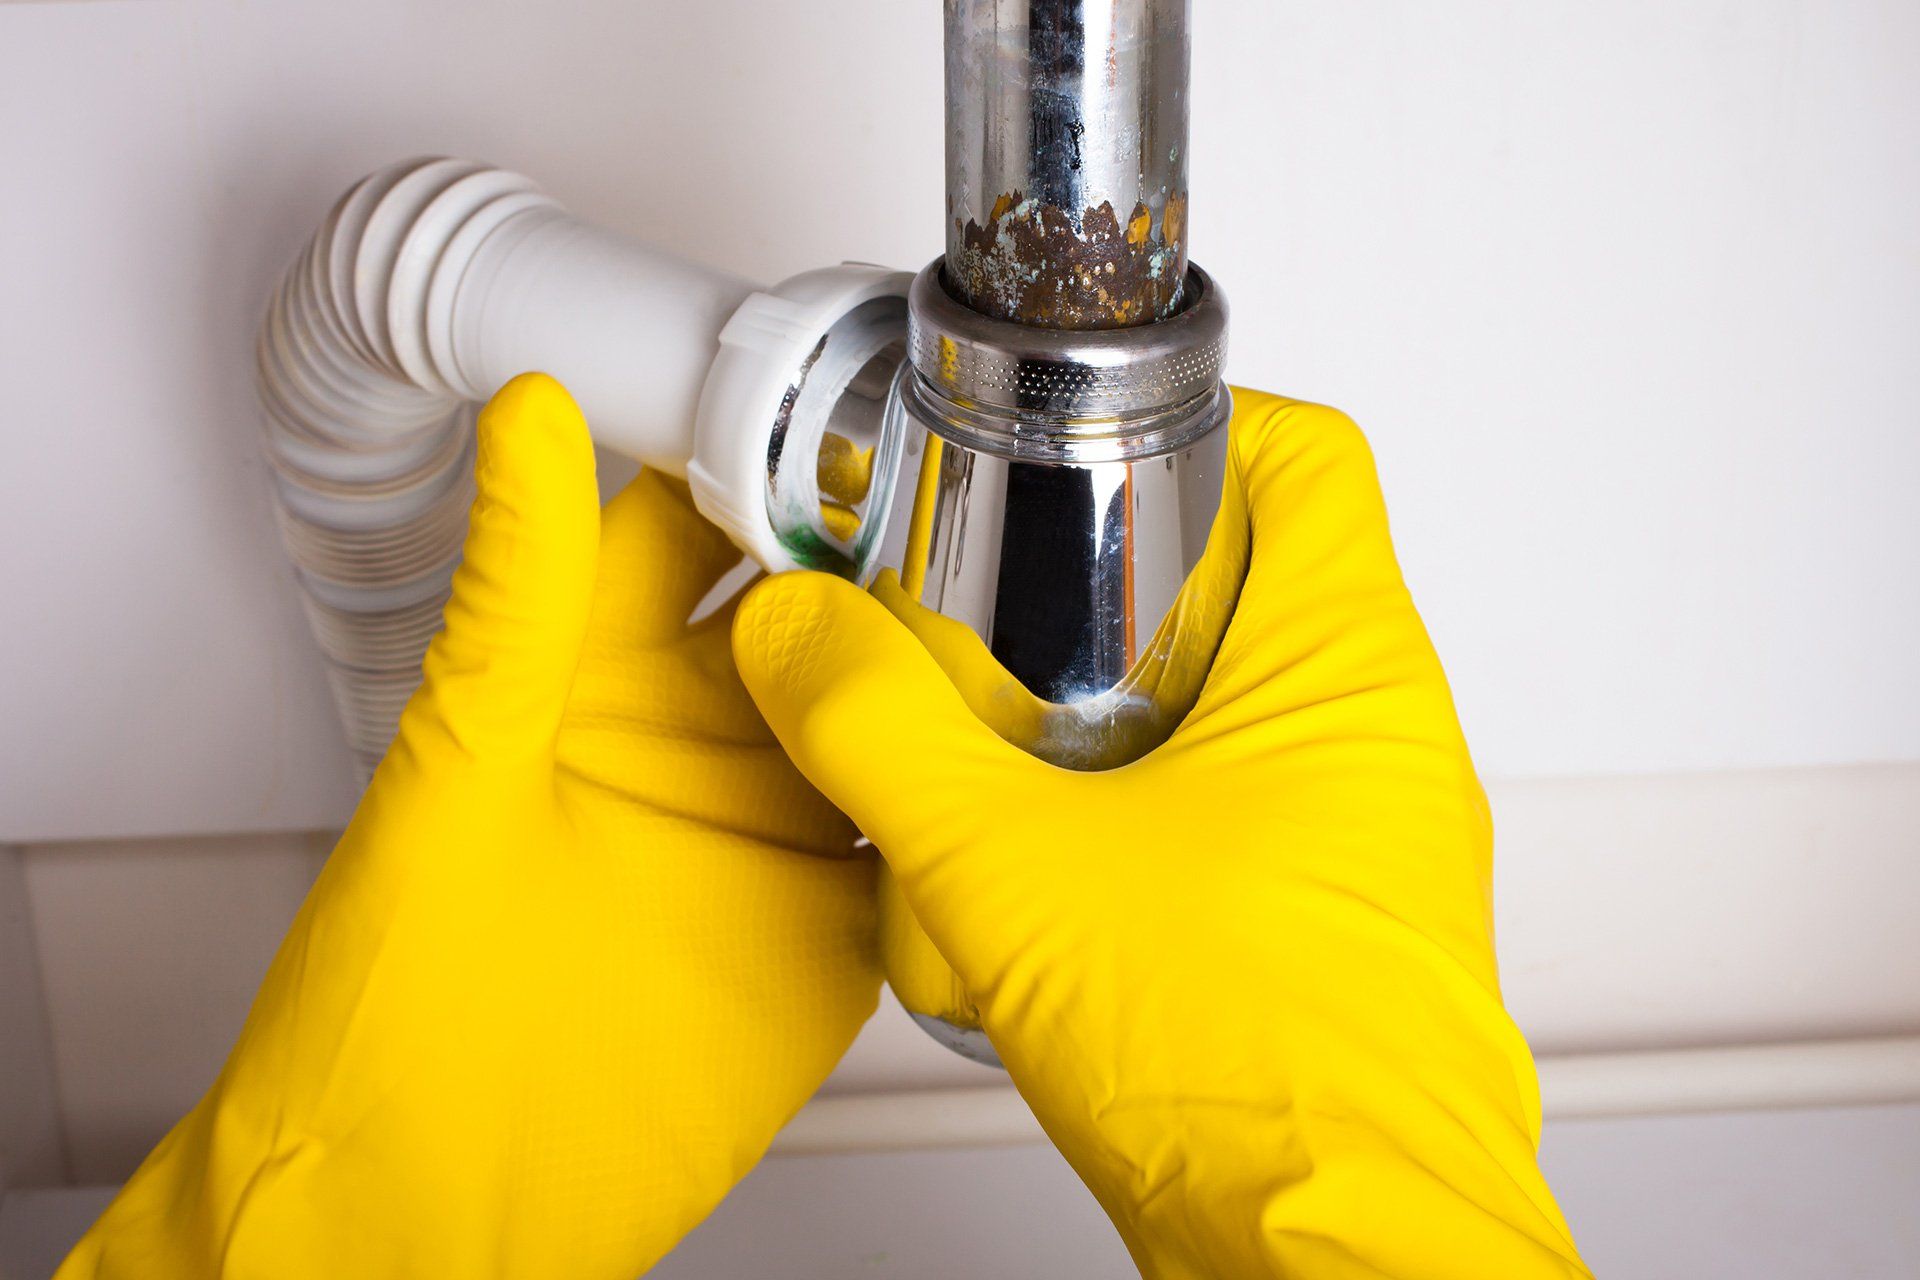
How to Fix a Leaky Tap: Step-by-Step Guide
- Turn Off the Water Supply
Before starting any repairs, locate the water shut-off valve under your sink and turn it off. This prevents water from flowing while you work on the tap. - Disassemble the Tap
Use a screwdriver to remove the tap handle. Once removed, you’ll have access to the internal components, such as the valve and washers. - Inspect the Washer and O-Ring
Check the washer and O-ring for signs of wear or damage. If either part looks worn out or broken, replace them with new ones from your local hardware store. Be sure to take the old parts with you to ensure you get the correct replacements. - Replace the Parts
Install the new washer and O-ring by following the same steps you took to remove the old ones. Make sure all parts are seated properly to prevent future leaks. - Reassemble the Tap
Once the new parts are in place, reassemble the tap by putting the handle back on and securing it with the screws. Tighten everything securely, but be careful not to over-tighten and damage the components. - Turn the Water Back On and Test
After reassembling the tap, turn the water supply back on and test the tap for leaks. If the leak has stopped, your repair was successful!
When to Call a Professional Plumber
If you’ve tried replacing the washer and O-ring but the leak persists, or if you notice corrosion or other serious damage to the tap, it’s best to call a professional plumber. More complex issues, such as damaged valves or internal parts, may require expert repair or tap replacement.
Preventing Future Leaks
To prevent future leaks and extend the life of your tap, here are a few maintenance tips:
- Turn Off Taps Gently: Avoid over-tightening when you turn off the water to reduce wear on the internal components.
- Clean the Aerator: Every few months, remove and clean the aerator to ensure smooth water flow and prevent mineral buildup.
- Inspect Regularly: Check your taps for signs of wear or leaks and address small problems before they become bigger issues.
Conclusion: Don’t Let a Leaky Tap Drain Your Wallet
A leaky sink tap is an easy fix if you know what to look for and have the right tools. However, if you encounter more complicated problems or can’t stop the leak, Greater Western Sydney Plumbing is here to help. Our licensed plumbers can repair or replace your tap quickly and efficiently.
Call us now at 0432 001 070 for expert plumbing services!
You might also like